Waterproof Connectors
FD Series Connectors
LD Series Connectors
SD Series Connectors
SP Series Connectors
Aviation Plug Connectors
12G Series Circular Connectors
GX Series Connectors
WY Series Connectors
SF Series Connectors
ST Series Connectors
XS Series Connectors
WF Series Connectors
WS Series Connectors
M Series Connectors
M5 Series Connectors
M8 Series Connectors
M11 Series Connectors
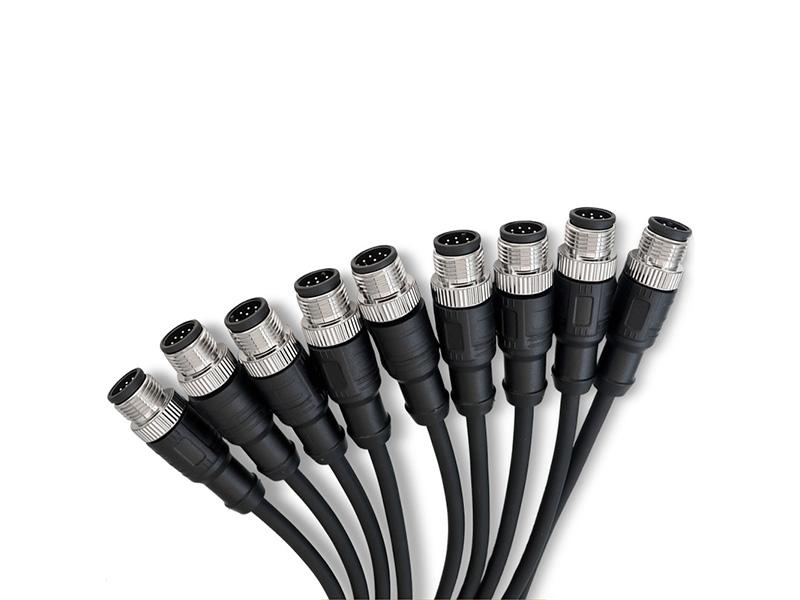
M12 Series Connectors
M13 Series Connectors
M15 Series Connectors
M16 Series Connectors
M18 Series Connectors
Russian Standard Connectors
FQ Series Connectors
OHS Series Connectors
2PM Series Connectors
P Series Connectors
Y2M Series Connectors
PC Series Connectors


 Tel: +8619924482730
 Email: info@kmydconnector.com
 MP/WhatsApp: +8619924482730
 Manufacturer Address:Baoan District, Shenzhen City, Guangdong Province,China